 how-to
How to Prepare Floors for Hardwood Installation
Table of Contents
- Remove Existing Flooring and Baseboards
- Inspect and Repair Your Subfloor
- Subfloor Leveling Techniques for Hardwood Installation
- Moisture Testing for Hardwood Installation
- Subfloor Moisture Barrier Requirements
- Tools Needed for Floor Preparation
- Final Cleaning and Acclimation Before Installation
- Frequently Asked Questions
Last Updated: September 20, 2026
How to Prepare Floors for Hardwood Installation
Proper floor preparation is the difference between hardwood that lasts decades and flooring that fails within years. Most homeowners skip critical prep steps, only to discover problems after installation. The right preparation prevents costly repairs and ensures your hardwood looks beautiful for generations.
This guide walks you through every step of how to prepare floors for hardwood installation. We'll cover what to inspect, how to test for moisture, which tools you actually need, and the specific techniques that prevent squeaks, warping, and movement.
Remove Existing Flooring and Baseboards
Clear the room completely, remove furniture, rugs, and anything else on the floor to create a clean workspace and prevent damage to your belongings.
Remove existing flooring with a pry bar, working in sections. Rushing damages the subfloor underneath and creates extra repair work.
Remove baseboards carefully with a putty knife and pry bar. Save them if they're in good condition and you want to reinstall them.
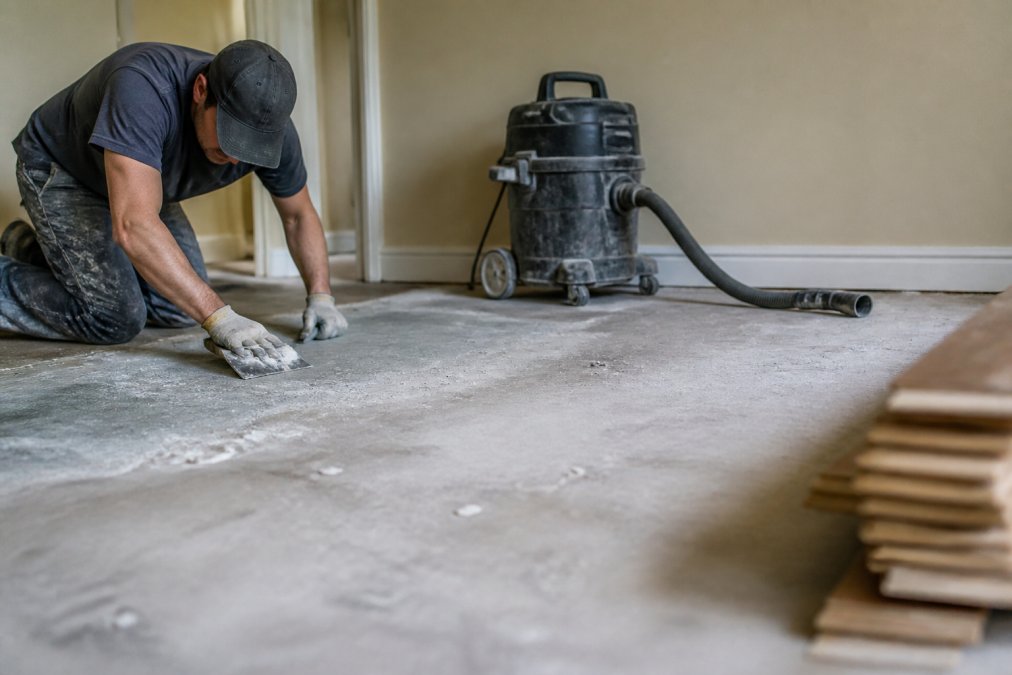
Sweep away all debris, dust, nails, and old adhesive. A clean surface is your foundation for everything that follows.
Inspect and Repair Your Subfloor
Now comes the critical part: inspecting what's underneath. The subfloor is what your hardwood will sit on, so any weakness here will cause problems later.
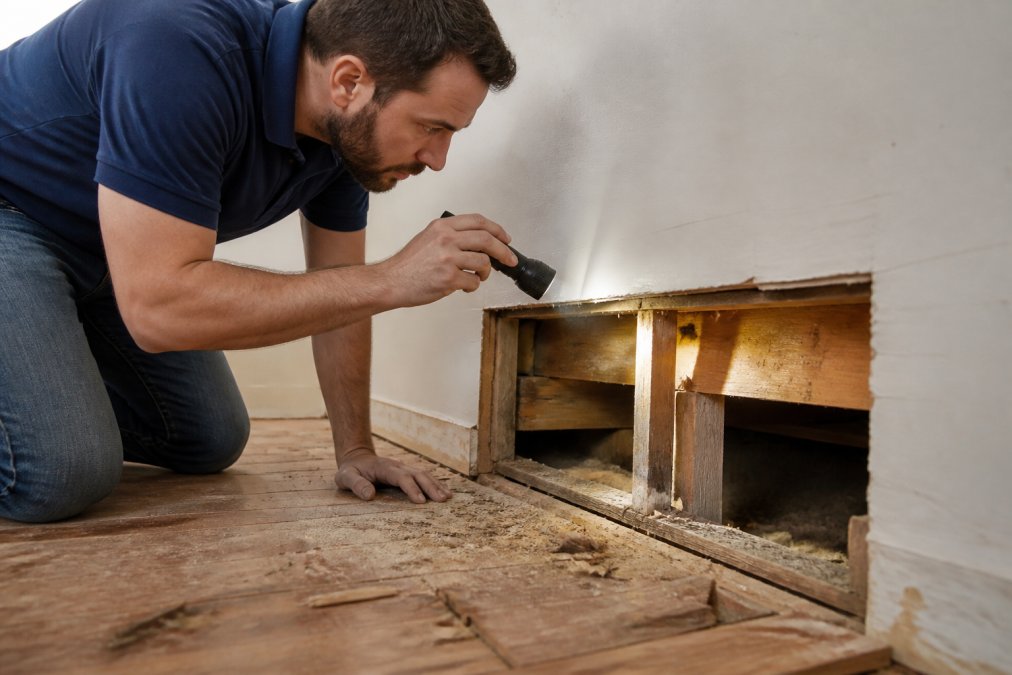
Walk across the floor and listen for squeaks or soft spots. Press down in different areas. If you feel movement or hear creaking, that section needs reinforcement.
Look for visible damage: water stains, mold, rot, or gaps. Soft wood indicates moisture damage and must be replaced before installation.
Check for loose fasteners. Drive popped nails back down or replace them with screws, which hold better over time.
Repair damage immediately: replace rotted sections, reinforce weak joists, and tighten fasteners. This work is far cheaper than fixing problems after installation.
Subfloor Leveling Techniques for Hardwood Installation
Hardwood floors require a level surface. Even minor deviations cause visible gaps, uneven transitions, and squeaking. Seasonal wood movement is amplified by an unlevel subfloor, leading to cupping, crowning, or separation.
Understanding Hardwood Tolerance Standards
Most hardwood manufacturers specify a maximum variance of 1/8 inch over 10 feet. Check your flooring manufacturer's specifications before leveling, exceeding tolerance can void the warranty.
Use a long straightedge (6 to 10 feet) or laser level to map the subfloor. Take measurements in at least 20 locations, including corners and the center. Mark gaps larger than 1/8 inch to identify isolated low spots, slopes, or both.
Filling Low Spots with Self-Leveling Compound
For depressions up to 1/2 inch deep, self-leveling underlayment or leveling compound is the fastest solution. These polymer-modified materials flow across the subfloor and cure to a hard surface on both plywood and concrete.
Clean the low-spot area thoroughly and dampen it slightly so the compound adheres. Pour the compound and let it self-level. Most products cure in 24 to 48 hours. Follow manufacturer's instructions on mixing and coverage; too thin will crack, too thick will take weeks to cure.
For larger depressions (1/2 inch to 2 inches), apply multiple layers, allowing each to cure. This is still faster than replacing subfloor sections.
Addressing High Spots
High spots are trickier. You have three options:
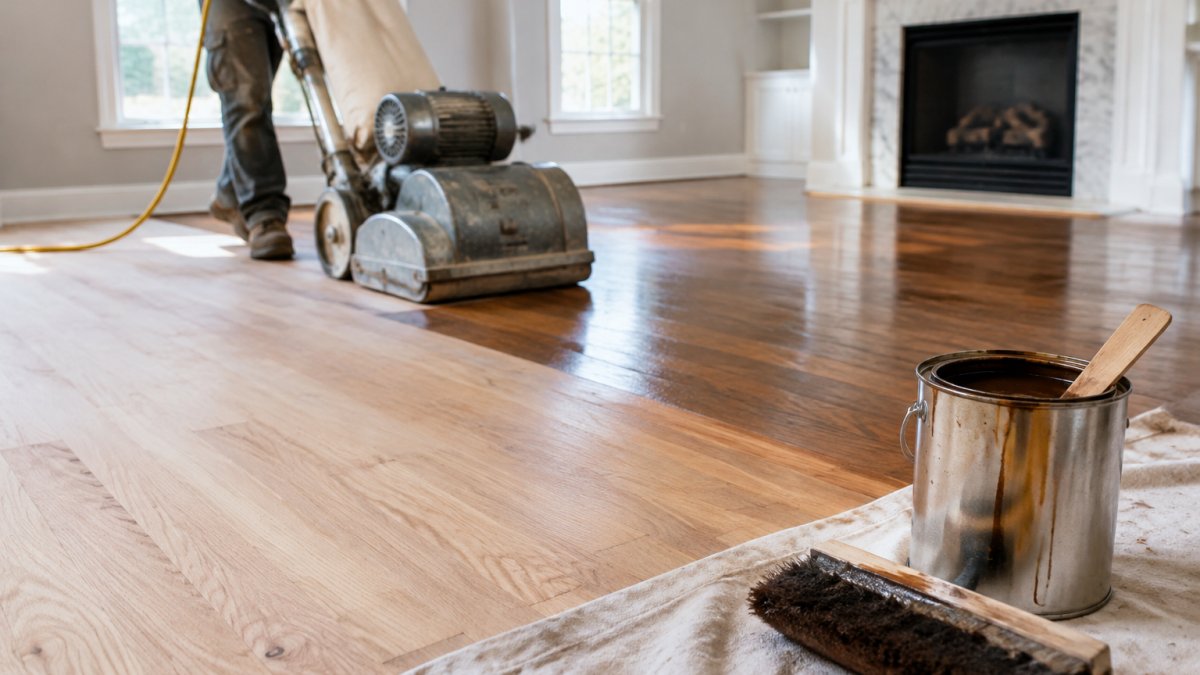
- Sanding, For bumps up to 1/4 inch, rent a drum sander. Sand gradually and check progress frequently with a straightedge.
- Chiseling or planing, For localized high spots on plywood, a chisel or hand plane can shave down the raised area. Work from edges toward the center to avoid splintering.
- Removal and replacement, For high spots larger than 1/4 inch or on concrete, remove and replace the section. On plywood, cut out the raised section and install new plywood flush with the surface. On concrete, grind or break out the high spot and patch with concrete resurfacer.
Combination Approach for Complex Subfloors
Most rooms have both low and high spots. Fill all low spots with leveling compound and let them cure. Then assess high spots. If minor (under 1/4 inch), you may be within tolerance. If significant, sand or remove them.
After leveling, re-check the entire subfloor with your straightedge. Any remaining variance should be under 1/8 inch over 10 feet.
Why Leveling Matters for Long-Term Performance
Skipping leveling is one of the most common reasons hardwood floors fail prematurely. An unlevel subfloor forces hardwood to bridge gaps, causing cupping, crowning, or separation. These problems are expensive to fix and often require replacing sections.
Moisture Testing for Hardwood Installation
Moisture is the enemy of hardwood floors. Too much moisture causes wood to swell and warp. Too little causes it to shrink and gap. Testing and controlling moisture is non-negotiable.
Use a moisture meter to test the subfloor in at least 15 locations, including corners and edges. The subfloor should read between 8 and 12 percent moisture content.
If readings are higher, find and fix the moisture source before installing hardwood. Common solutions include improving drainage, sealing cracks, or adding ventilation.
For concrete subfloors, calcium chloride testing measures vapor emission. Most hardwood manufacturers require readings below 3 pounds per 1,000 square feet per 24 hours.
Subfloor Moisture Barrier Requirements
A moisture barrier (also called a vapor retarder) slows moisture movement from the subfloor into the hardwood. Without it, moisture wicks up from the ground or concrete, causing the wood to swell, cup, and fail. The barrier you choose depends on your subfloor type and moisture conditions.
Moisture Barriers for Plywood Subfloors
For plywood subfloors, you have two barrier options:
- Underlayment with integrated vapor retarder, A thin, cushioned layer (1/8 to 1/4 inch) that combines cushioning, sound dampening, and moisture protection. Look for underlayment rated at 1 to 2 perms. A 1-perm rating allows 1 pound of water vapor through 1,000 square feet in 24 hours, low enough to protect hardwood without trapping moisture in the plywood. Popular options include cork, rubber, or engineered foam underlayment.
- Polyethylene film or commercial vapor retarder, For maximum moisture protection, install polyethylene film (4 to 6 mil) or a commercial vapor retarder rated below 0.5 perms over the plywood before underlayment. Tape all seams with moisture-resistant tape.
Do not use vapor barriers below 0.1 perms on plywood; they trap moisture inside the plywood, causing rot. The goal is to slow moisture movement, not stop it completely.
Moisture Barriers for Concrete Subfloors
Concrete wicks water from the ground continuously, even if it appears dry. A moisture barrier on concrete is non-negotiable.
Install polyethylene film (6 mil minimum, 10 mil preferred) or a commercial moisture barrier membrane over the entire concrete surface before underlayment or hardwood. The barrier should extend 3 to 4 inches up the walls so the perimeter gap will cover it.
Overlap all seams by at least 6 inches and seal with moisture-resistant tape. Tape every seam meticulously to prevent moisture from bypassing the barrier.
After the polyethylene is installed, you can lay a thin underlayment on top if desired (for cushioning or sound dampening), but the polyethylene itself is the critical moisture barrier.
Moisture Testing Before Barrier Installation
Before you install any barrier, test the subfloor's current moisture level. For concrete, perform a calcium chloride test (the industry standard). This test measures vapor emission from the concrete surface. Place a calcium chloride test kit on the concrete, seal it for 24 to 72 hours, and measure the weight gain. Most hardwood manufacturers require readings below 3 pounds per 1,000 square feet per 24 hours. If your concrete exceeds this threshold, you have active moisture intrusion. Fix the source (improve drainage, seal cracks, add a sump pump or dehumidifier) before installing the barrier.
For plywood, use a moisture meter to test the wood itself. Readings should be between 8 and 12 percent.
Installation Best Practices
Climate and Humidity Considerations
Tools Needed for Floor Preparation
You don't need a huge collection of tools, but having the right ones makes the job faster and easier.
Essential tools:
- Pry bar for removing old flooring and baseboards
- Putty knife for scraping adhesive and old finish
- Level or straightedge to check for dips and high spots
- Moisture meter to test subfloor moisture content
- Broom and shop vacuum for cleanup
- Screwdriver or drill for fastener work
- Hammer for driving nails and fasteners back down
Helpful but optional:
- Nail gun or screw gun speeds up fastener work
- Reciprocating saw for removing damaged subfloor sections
- Sander for leveling high spots
- Stud finder to locate joists if you need reinforcement
Final Cleaning and Acclimation Before Installation
With prep work complete, clean the subfloor thoroughly. Vacuum up all dust and debris. Use a pH-neutral cleaner and damp cloth to wipe the surface. Let it dry completely before moving forward.
Frequently Asked Questions
Do I need to remove old flooring before installing hardwood?
Yes, you must remove existing flooring down to the subfloor to prepare floors for hardwood installation properly. This includes carpet, tile, vinyl, or old hardwood. Removing old material allows you to inspect the subfloor for damage, moisture issues, and structural problems. Leaving old flooring underneath creates an uneven surface, traps moisture, and causes the new hardwood to warp or squeak. The removal process also lets you address any subfloor repairs before installation begins.
How level does a subfloor need to be for hardwood?
Your subfloor should not vary more than 3/16 inch over a 10-foot span. Hardwood flooring is rigid and won't conform to an uneven surface. High spots cause cupping and crowning, while low spots create gaps and squeaks. Use a straight edge and level to check flatness. If your subfloor exceeds the tolerance, use self-leveling compound or sand high spots. Proper subfloor leveling techniques prevent installation problems and extend your floor's lifespan.
Do I need a moisture barrier under hardwood flooring?
Yes, a subfloor moisture barrier is essential, especially over concrete slabs or in humid climates. Moisture barriers, also called vapor retarders, prevent ground moisture from damaging hardwood. Wood expands and contracts with humidity changes; excess moisture causes warping and buckling. Install a 6-mil polyethylene sheet or apply a liquid moisture barrier to concrete. On wood subfloors with relative humidity above 60%, use an underlayment with a vapor barrier. Proper moisture protection is critical for floor durability.
What is the best way to clean a subfloor before hardwood installation?
Thoroughly remove all dust, debris, and old adhesive using a shop vacuum and scraper. Vacuum multiple times to eliminate fine dust that interferes with underlayment adhesion. For stubborn adhesive, use a putty knife or floor scraper. Wipe the surface with a pH-neutral cleaner and let it dry completely. Never use water-based cleaners on wood subfloors—moisture can cause swelling. A clean, dry subfloor ensures proper underlayment contact and prevents squeaks after installation.