 how-to
How to Restore Scratched Hardwood Floors at Home
Quick Summary
To fix scratched hardwood floors, first check whether the scratch is only in the finish or has reached the bare wood, using a fingernail test. Light finish scratches can be fixed with a color-matched wax stick buffed with a soft cloth, while deeper grooves need wood filler and light sanding.
- A fingernail glides over a finish-only scratch but catches in a groove that reaches bare wood.
- Light scratches in the finish are usually fixed with a wax stick buffed with a soft cloth.
- Deep grooves call for color-matched wood filler, dried fully before light sanding with 220-grit or finer paper.
- Test any product on a hidden spot and let it dry fully before judging the color match.
- Call a professional for dents, cracks, water damage, or scratches spread across a large area.
Table of Contents
- Identify Your Scratch Depth and Floor Finish Before You Start
- Light Scratches on Wood Floor: Fixing Surface Marks Quickly
- Hardwood Floor Scratch Repair Kit: What It Contains and How to Use It
- Wood Floor Scratch Repair Wax: Application and Buffing Steps
- How to Fix Deep Scratches on Wood Floor Without Sanding
- Troubleshooting Common Mistakes and When to Call a Professional
- Schedule a Free Estimate for Your Scratched Floors
- Frequently Asked Questions
How to Restore Scratched Hardwood Floors at Home
Last Updated: November 14, 2026
Scratched hardwood floors often look worse than they are. A light scuff in the finish can often be fixed with a wax stick and a soft cloth, while a deep gouge into the wood needs more work. The trick is knowing which one you have before you buy anything. This guide walks you through how to tell the difference, which repair fits each scratch, and when to consider professional help.
Identify Your Scratch Depth and Floor Finish Before You Start
Your repair method depends on two things: how deep the scratch goes and what finish sits on top of the wood. Most failed DIY scratch repairs trace back to skipping this step, applying a wax stick to an oil-finished floor, or filler to engineered wood with a thin veneer.
Step 1: Find the scratch depth
Use this quick decision guide:
- Scratch only in the finish: The line looks white or dull, but the wood color underneath is unchanged. A wax stick or finish touch-up is usually enough.
- Scratch into the wood: The groove shows bare, lighter, or darker wood. Use a wood filler or repair marker.
- Deep gouge: You can feel a groove with your fingernail or see a visible dent. This often needs filler and careful sanding, or board replacement.
A fingernail test is the fastest check. Drag a fingernail across the mark at a right angle. If it glides over, the scratch is in the finish. If it catches, the scratch has reached the wood.
Step 2: Identify the finish type
Most hardwood floors carry one of four finishes, and each behaves differently under repair products:
- Polyurethane (water-based or oil-based): Smooth, slightly glossy film on top of the wood. Water-based versions look clearer and dry faster; oil-based versions amber over time. Repair products bond well, but oil-based waxes and polishes can smear on water-based polyurethane.
- Oil finish (penetrating oil, hardwax oil): Feels drier and less film-like; the wood absorbs the finish. These floors usually need re-oiling rather than wax, and a wax stick will sit on the surface and look cloudy.
- Wax finish: Soft sheen, often on older or antique floors. Wax scratches easily and can be re-waxed, but solvent-based repair products can strip the existing wax.
A simple field test: in an inconspicuous spot, rub a cloth dampened with mineral spirits across the surface. A polyurethane film will stay intact and look unchanged. A wax finish will soften or dull. An oil finish may darken slightly. Let the spot dry fully before judging.
Step 3: Confirm solid versus engineered wood
This matters more than most guides admit. Solid hardwood is milled from a single piece of wood and can often be sanded and refinished more than once.
To tell them apart, look at a floor vent, a doorway threshold, or a transition strip where the edge of a board is visible. Solid wood shows grain running through the full thickness.
Step 4: Note the wood species and color
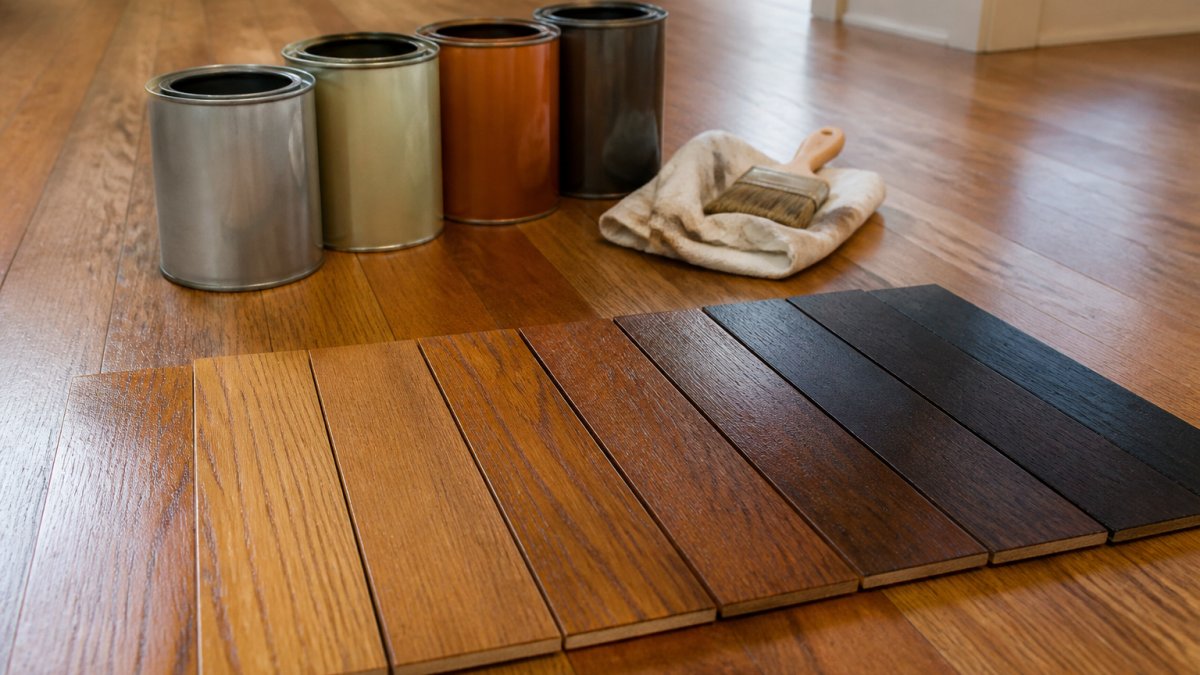
Color matching is easier when you know what you are matching. Oak, maple, hickory, and walnut all take stain and filler differently, and a wax stick labeled "oak" will look wrong on maple.
Watch out: Applying an oil-based product over a water-based polyurethane finish can leave a sticky, uneven patch that attracts dirt and is difficult to remove without screening the floor.
Light Scratches on Wood Floor: Fixing Surface Marks Quickly
Light scratches are the most common problem, and the easiest to fix.
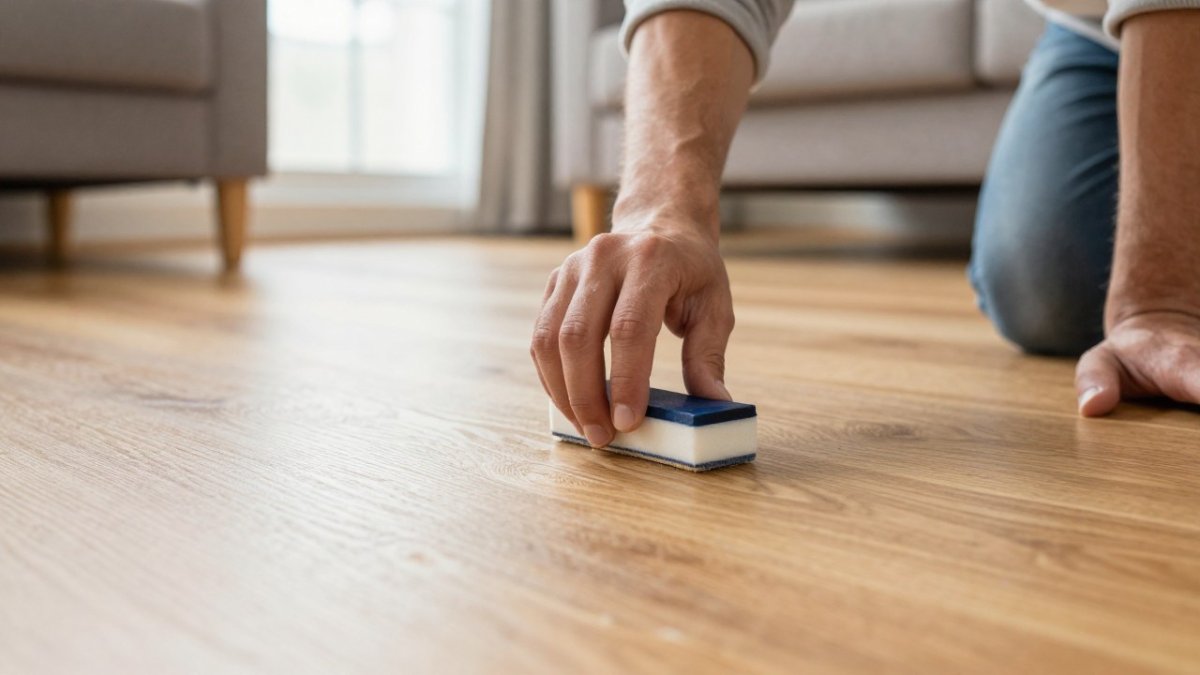
Start by cleaning the spot well, grit trapped under a repair product will only make the scratch look worse.
Next, pick a product that matches your floor color.
Rub the wax stick over the scratch, then buff with a soft cloth.
Keep an eye on wear spots.
Light scratches are usually the easiest to fix, and the right product depends on which layer the mark has reached.
| Scratch type | Repair | Key check |
|---|---|---|
| Surface mark in finish | Wax stick, buffed | Fingernail glides over the mark |
| Groove into bare wood | Color-matched wood filler | Fingernail catches in the groove |
| Dent without missing wood | Steam or damp cloth, tested first | Crushed fibers, no missing wood |
| Cracked or water-stained board | Pro assessment, likely replacement | Spot repair will not hold |
Hardwood Floor Scratch Repair Kit: What It Contains and How to Use It
A basic scratch repair kit usually includes several tools for different scratch depths. Knowing what each item does saves you from buying parts you will not use.
A typical kit contains:
- Wax sticks: Fill light scratches in the finish with a colored wax.
- Wood filler: Fills deeper grooves in the bare wood. It is often sold in tubes or small tubs.
- Repair markers: Colored markers that touch up small marks and dark spots.
Match the tool to the scratch depth: wax for surface marks, markers for small dark spots, and filler for grooves that show bare wood.
Pick a kit with several shades. Mixing two colors often gives a better match than using one.
Wood Floor Scratch Repair Wax: Application and Buffing Steps
Wood floor scratch repair wax works well on light to medium scratches in the finish.
- Clean the scratch. Remove dust and any sticky residue with a dry cloth.
- Warm the wax. Rub the stick between your fingers for 10 to 15 seconds so it applies more smoothly.
- Apply the wax. Rub the stick directly over the scratch, filling the line.
- Press it in. Use a plastic scraper or your fingertip to press the wax into the groove.
- Scrape off the excess. Run a plastic scraper lightly across the surface to remove extra wax.
- Buff. Rub the area with a soft, dry cloth in a circular motion until the shine matches the floor.
- Let it cure. Avoid walking on the spot for at least an hour.
Wax can look dull if you use too much. Apply thin layers and build up gradually. Buff in the same direction as the wood grain for the most natural look.
Watch out: Applying too much wax at once can leave a sticky, hazy patch that attracts dirt.
How to Fix Deep Scratches on Wood Floor Without Sanding
Deep scratches that cut into the wood often can be repaired without full sanding, but results depend on the depth, width, and location of the mark, and on whether the board can safely take a spot repair.
Decide whether the scratch is a filler job or a replacement job
Before you open a tube of filler, sort the damage:
- Narrow groove into bare wood: A good candidate for color-matched wood filler. The filler bridges the gap and the surrounding finish hides the edges.
- Wide gouge or missing chip: Filler can work, but it will be visible under close inspection. Mixing two shades gives a better match than a single tube.
- Dent (crushed fibers, no missing wood): Filler is the wrong tool. A dent can sometimes be raised with a damp cloth and a warm iron, but this works best on solid wood and can damage engineered veneer. Test in a hidden spot first.
Prepare the scratch properly
Preparation is where most DIY filler jobs fail. Work in this order:
- Clean the area. Vacuum with a brush head, then wipe with a barely damp cloth and let it dry completely. Filler will not bond to dust, grease, or old wax.
- Remove loose fibers. Pick out splinters or crushed wood with a utility knife tip or a stiff brush so the filler has a clean channel to grip.
- Check for old product. If a previous repair used wax, polish, or oil, wipe with a cloth dampened with mineral spirits and let it dry. New filler will not adhere over residue.
- Test the color. Apply a small amount of filler to a hidden spot or scrap of matching wood and let it dry fully, most fillers dry lighter or darker than they look wet, before committing to the visible scratch.
Apply and dry the filler
Press color-matched wood filler into the groove with a plastic putty knife, slightly overfilling so the filler sits just above the surface.
Drying time depends on the product. Water-based fillers often dry in 1-2 hours; solvent-based and two-part epoxy fillers can take several hours to overnight.
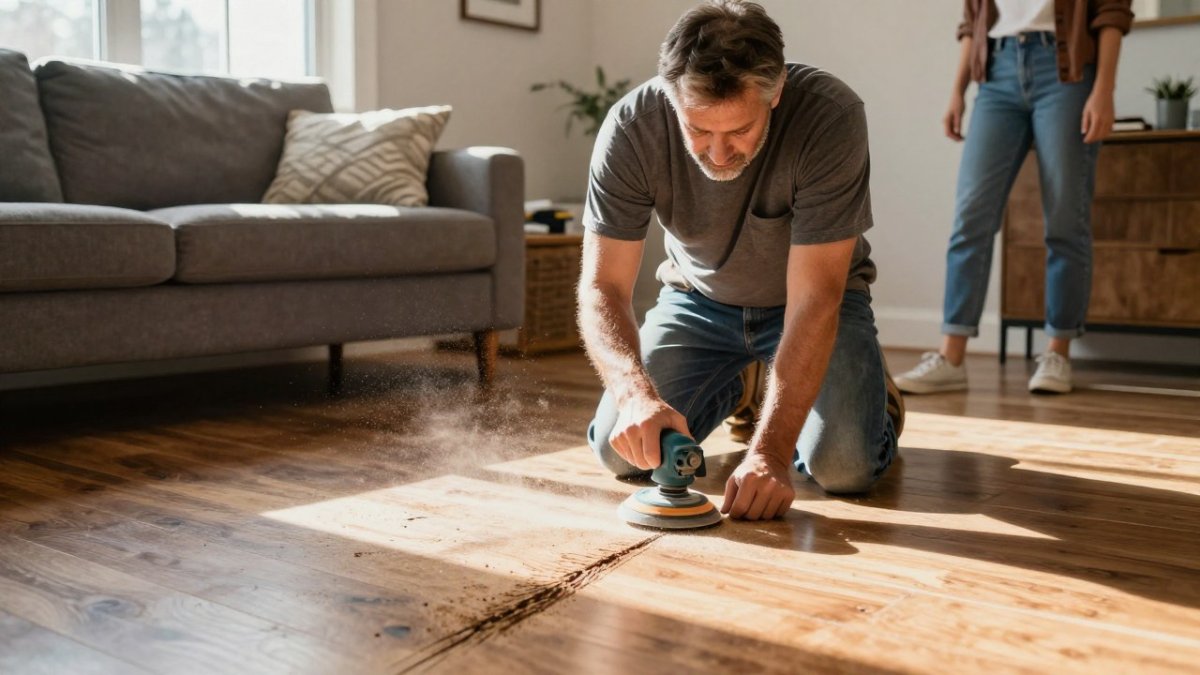
Once the filler is fully dry, sand only the filled area with fine sandpaper (220 grit or higher) wrapped around a sanding block.
Match the finish over the repair
A filled scratch without a finish coat will look dull and collect dirt. Match the topcoat to the existing finish: a thin coat of the same polyurethane on a polyurethane floor, a hardwax oil on an oil-finished floor, or a matching wax on a waxed floor.
Watch out: Household remedies such as vegetable oil, shoe polish, crayons, and grease-based furniture polish can seem helpful but often leave residue, attract dirt, or cause the finish to fail. They can also make later professional repairs harder, so it is best to avoid them.
Know when to stop
If the filler looks like a patch after buffing, if the scratch keeps reopening, or if the board is dented, cracked, or water-damaged, stop and call a professional. A pro can steam out some dents, replace a single board, or advise whether the floor needs a screen-and-recoat rather than repeated spot fixes.
Troubleshooting Common Mistakes and When to Call a Professional
Most repair problems come from a few common mistakes. Knowing them ahead of time can save a lot of frustration.
- Using too much product. Thick wax or filler looks like a patch. Apply thin layers.
- Skipping the cleaning step. Trapped grit scratches the floor further during repair.
- Choosing the wrong color. Test on a hidden spot and let it dry before you judge.
Call a professional when the scratches cover a large area, when the wood is dented or cracked, or when a DIY repair leaves a patch that stands out.
For older floors, the cost of a mistake can be high. A careful inspection can show whether the floor needs a light repair, a board replacement, or a full refinish.
Schedule a Free Estimate for Your Scratched Floors
If your scratches go beyond a weekend fix, ScreenCoat Painting & Flooring can help. As a locally owned hardwood floor refinishing and restoration contractor serving Beverly and the North Shore since 2012, we offer free in-home estimates and clear communication about what your floor needs. Our services include floor repairs, damaged board replacement, buff and recoat services, and sanding and refinishing.
Frequently Asked Questions
Can scratched hardwood floors be repaired?
Yes, many scratched hardwood floors can be repaired. Light surface scratches that only affect the finish are usually fixable with a matching repair marker, wax stick, or scratch repair kit. Deeper scratches that reach the bare wood often need a filler and careful color matching. Scratches that run through several boards, or floors with widespread wear, may need a full screen and recoat or professional refinishing to look uniform.
How do you fix deep scratches on a wood floor without sanding?
Deep scratches can often be improved without sanding by cleaning the groove, filling it with a color-matched wood filler or repair compound, scraping off the excess, and then blending the area with a stain marker or wax stick. Test the product on a hidden spot first. Results depend on scratch width and finish type, so very deep gouges or large damaged areas may still need professional attention.
Can you use a scratch repair kit on hardwood floors?
A hardwood floor scratch repair kit works well for small, shallow to moderate scratches. Most kits include colored wax sticks or markers, a filler, and a plastic scraper. Choose a kit whose colors are closest to your floor, mix shades if needed, and apply in thin layers. Kits are less effective on large gouges, heavily worn finishes, or floors where the color has faded unevenly.
When should scratched hardwood floors be professionally refinished?
Consider professional refinishing when scratches are numerous, deep, or spread across large areas, when the finish is badly worn through in high-traffic zones, or when you want to change the floor color. Refinishing involves sanding the surface and applying new stain and finish, which removes most scratches at once. For a clear picture of what your floor needs, you can contact ScreenCoat Painting & Flooring for a free in-home estimate.