 how-to
Signs Your Hardwood Floor Needs Refinishing: 2026 Guide
Table of Contents
- How to Tell If Your Hardwood Floor Is Solid or Engineered
- Visual Signs Your Hardwood Floor Needs Refinishing
- Warning Signs Your Hardwood Floor Needs Refinishing: Water Damage and Structural Problems
- Hardwood Floor Buff and Coat vs Refinishing: Which Does Your Floor Need?
- Hardwood Floor Refinishing Process Steps: What to Expect
- Pre-Refinishing Inspection Checklist: What to Check Before You Commit
- When to Refinish vs Replace: Making the Final Call
- Frequently Asked Questions
Last Updated: October 4, 2026
How to Tell If Your Hardwood Floor Is Solid or Engineered
Before you spend money on refinishing, know what's under your feet, it decides whether sanding is possible.
Solid hardwood is a single piece of wood, usually 3/4 inch thick, and can be refinished many times. Engineered hardwood is a thin layer of real wood glued over plywood or fiberboard; that top layer, the wear layer, is what you're sanding.
The problem most homeowners miss: engineered wear layers are often just 2 to 4 millimeters thick. Sand through it and the floor is ruined.
The Water Drop Test and Other Quick Checks
The fastest way to identify your floor is an exposed edge, a floor vent or doorway threshold. One solid piece top to bottom means solid; visible layers mean engineered.
No exposed edge? Try the water drop test: one drop in an out-of-the-way spot, wait a few minutes, wipe it off.
- Solid wood: water sits on top, barely soaks in
- Engineered wood: water may darken the grain faster near seams
- Sealed floors: the drop beads up regardless, so this test is only a rough guide
A magnet can help too, some engineered cores contain metal fasteners or foil a magnet will grab.
Why Wear Layer Thickness Decides Everything
The wear layer is the usable wood; everything else is structure. Solid floors typically have about 1/4 inch of wood above the tongue and groove, and sanding removes only a fraction, which is why a solid floor can take several rounds of refinishing.
Engineered floors are different. The National Wood Flooring Association guidance on engineered flooring notes that many engineered products allow only one light sanding, and some none at all.
Visual Signs Your Hardwood Floor Needs Refinishing
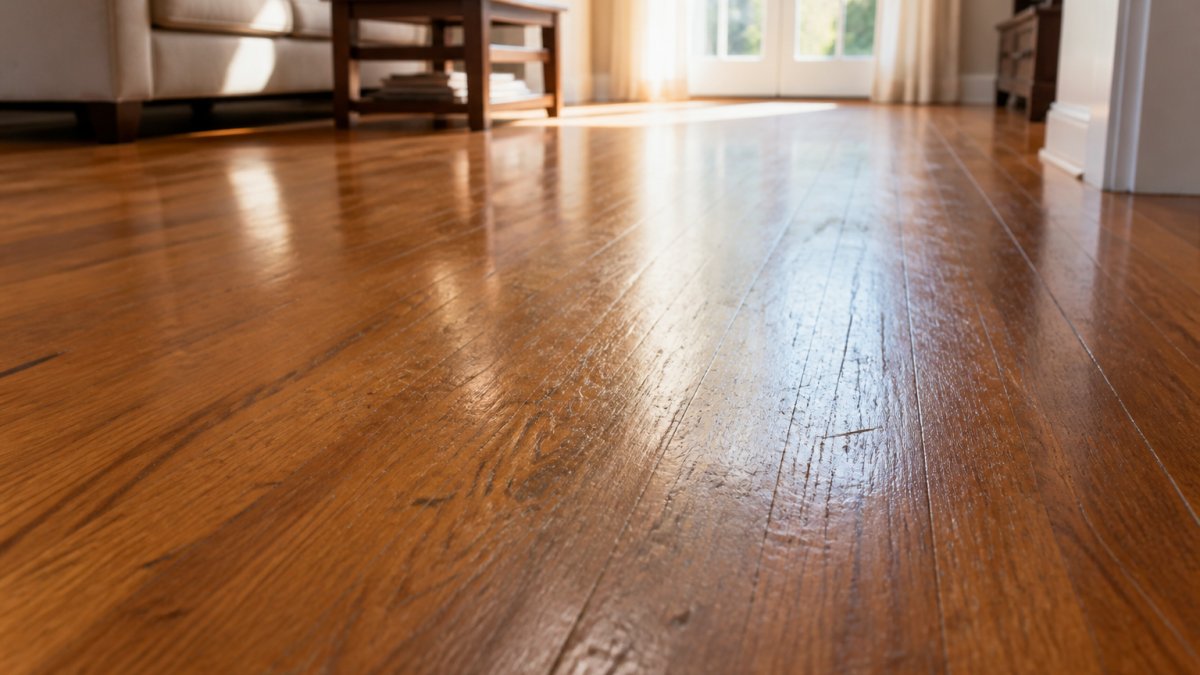
Walk your floors in daylight and look for the patterns below, the clearest signs your hardwood floor needs refinishing.
Surface Scratches, Deep Gouges, and Dullness
Light surface scratches from grit, pet claws, and furniture legs are normal. If they're only in the finish, a buff and coat may fix them; if you can catch a fingernail in one, it's into the wood.
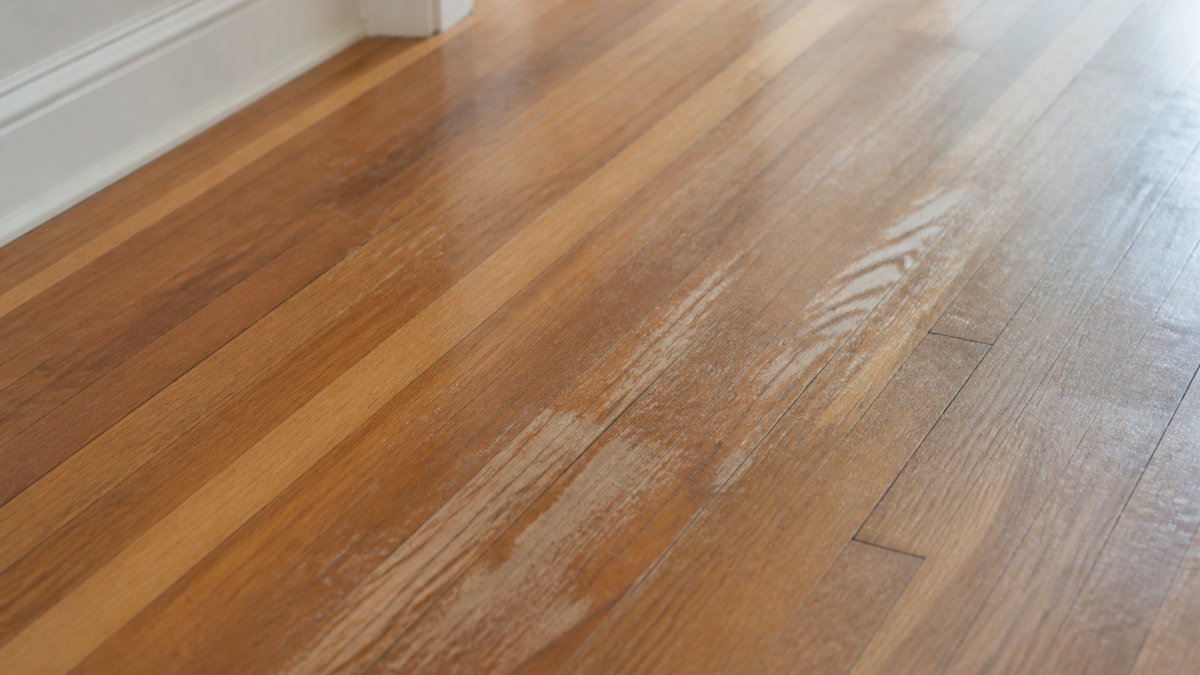
Dullness is the other tell: a floor that once had a satin sheen but now looks flat and gray is losing its finish, worn thin in high-traffic areas like hallways and kitchen entries.
- Scratches that disappear when wet: finish-only damage
- Scratches you can feel with a fingernail: into the wood
- Gray, washed-out patches: worn finish, bare wood showing
Fading, Discoloration, and Sun Damage
Sun damage is sneaky: UV rays break down the finish and bleach the wood, showing up as lighter patches near windows or a color shift where a rug used to sit.
The rug shadow is the giveaway. Pull up an area rug: if the wood beneath is darker and richer than the surrounding floor, the exposed wood has faded.
Fading can't be fixed with a coat of finish, you need to sand to fresh wood for an even color across the room.
Warning Signs Your Hardwood Floor Needs Refinishing: Water Damage and Structural Problems
Cosmetic wear is one thing; structural damage is where refinishing goes wrong. These are the signs your hardwood floor needs refinishing checked by a professional before you commit.
Water Stains, Cupping, and Crowning
Water stains show up as dark patches or black rings from spills, leaks, or humidity. Light stains sometimes sand out; deep black stains usually mean the wood is stained all the way through.
Cupping is when board edges curl up like a shallow washboard; crowning is the opposite, with centers rising. Both point to moisture problems, not just wear.
- Cupping: edges high, center low
- Crowning: center high, edges low
- Both: a moisture or subfloor issue underneath
Buckling and Subfloor Issues
Buckling is the serious one: the floor pulls away from the subfloor and lifts in waves or ridges you can feel underfoot or hear creak.
Buckling almost always means trapped moisture below. Sanding a buckled floor is a waste of money, it will move again. Fix the moisture source first, then decide if the boards can be saved or replaced.
Hardwood Floor Buff and Coat vs Refinishing: Which Does Your Floor Need?
This question saves homeowners the most money, and it's the one most people get wrong. A buff and coat is a light surface refresh; refinishing is a full sand-down to bare wood. Picking wrong wastes money or ruins a floor.
| Situation | Buff and Coat | Full Refinishing |
|---|---|---|
| Light surface scratches | Yes | Overkill |
| Dull, worn finish | Yes | Also works |
| Deep gouges | No | Yes |
| Water stains into wood | No | Yes |
| Color change wanted | No | Yes |
| Fading or sun damage | No | Yes |
| Engineered, thin wear layer | Yes | Usually no |
| Waxed or oiled floor | No | Yes |
| Finish worn through to bare wood | No | Yes |
What a Buff and Coat Actually Does
A buff and coat, sometimes called screening and recoating, uses a floor buffer with a fine abrasive screen or pad. The screen doesn't cut into the wood, it scuffs the existing finish so a new coat can bond, then one or two fresh coats go on top.
No sanding dust, no stain, usually a day or two of downtime, the right call when the wood is healthy and only the finish is tired.
The Test That Tells You Which One You Need
Find a worn traffic path. Put a single drop of water on the bare-looking spot and wait a few minutes.
- If the water beads up and sits on top, finish is still there. A buff and coat can work.
- If the water darkens the wood or soaks in within a minute or two, the finish is gone in that spot. You need to refinish, not recoat.
Test two or three spots, wear is rarely even across a room.
The Compatibility Trap Nobody Warns You About
A buff and coat only works if the new finish bonds to the old one. That means you need to know what is already on the floor.
- Oil-modified polyurethane over oil-modified polyurethane: usually fine.
- Water-based over water-based: usually fine.
- Water-based over oil-based: often fine after proper screening.
If you do not know what finish is on your floor, a small test patch in a closet is the safe move. A finish that beads up, wrinkles, or pulls away from the old surface is telling you the two products are not compatible.
When Buff and Coat Is the Wrong Call
Skip the buff and coat and go straight to refinishing if any of these are true:
- The finish has worn through to bare wood in traffic lanes.
- You want a different stain color.
- There are deep scratches, gouges, or dents in the wood itself.
Here is a general rule: if the damage is in the finish, a buff and coat may be suitable. If the damage is in the wood, full refinishing is likely needed. If you are not sure which one you are looking at, that is the moment to get a professional opinion before anyone touches a buffer.
Hardwood Floor Refinishing Process Steps: What to Expect
Knowing the steps takes the mystery out of the job. Here is how a professional refinishing project runs, start to finish.
- Inspection. The crew checks wood species, construction (solid vs. engineered), wear layer thickness, moisture content in the wood and subfloor, and any structural issues like cupping or buckling. This is where the go/no-go call gets made.
- Prep and masking. Furniture moves out. Baseboards and cabinets get protected. Doorways get sealed with plastic to contain dust. Loose nails or staples get set below the surface so they do not tear the sandpaper.
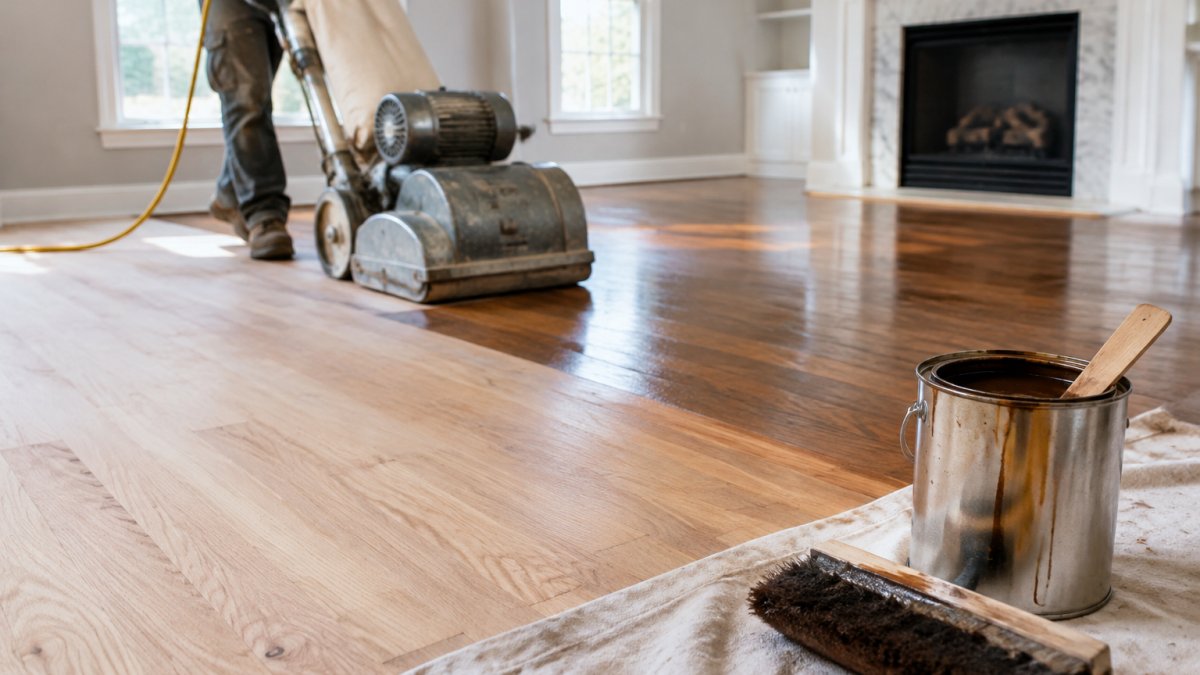
- Sanding. Most crews start with a coarse grit to strip the old finish and level the floor, then step through progressively finer grits, coarse, medium, fine, then a screen pass between coats. Skipping grits leaves swirl marks that show up the moment stain hits the wood.
- Edging and corner work. Drum or belt sanders cannot reach walls, closets, or under toe kicks. An edger handles the perimeter, and a scraper handles the tightest corners. Careless crews leave visible swirl marks along the walls here.
- Repairs. Damaged boards get replaced. Squeaks get fixed by driving screws or shims from below or through the subfloor. Gaps between boards can be filled, but only with a filler that moves with the wood.
- Fine sanding and buffing. A final pass with a fine screen or buffer smooths the surface and opens the grain so stain takes evenly.
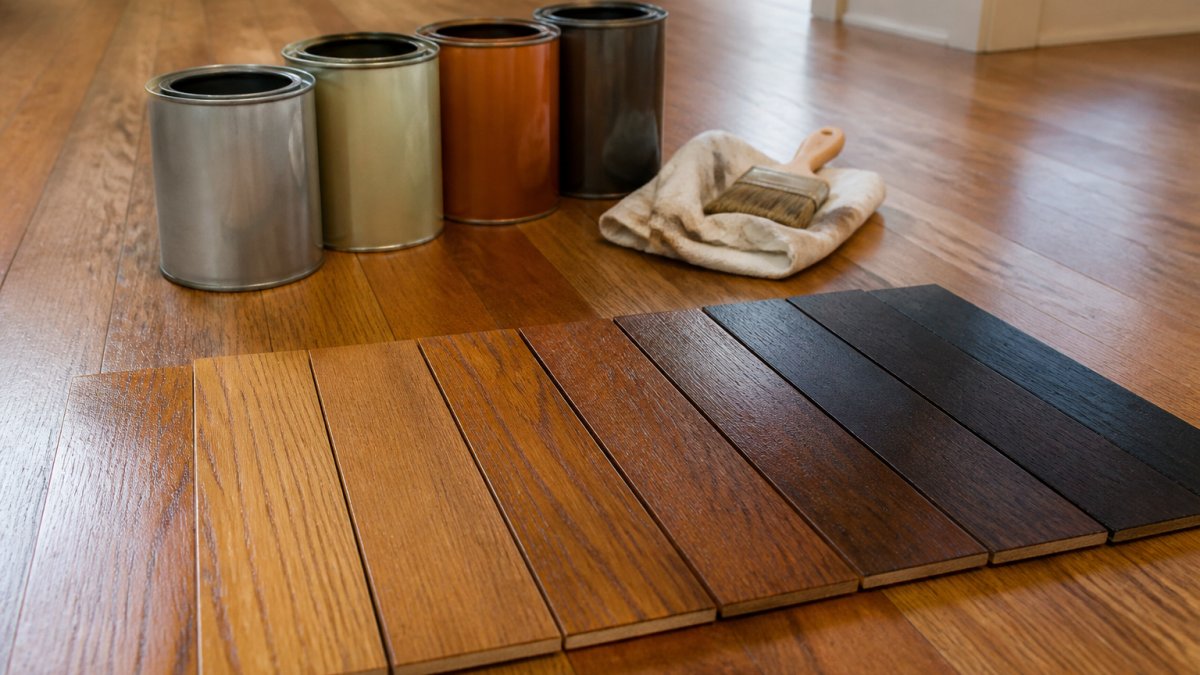
- Staining. If a color change is wanted, stain goes on now. Water-based stains dry fast and raise the grain less. Oil-based stains penetrate deeper and give richer color but take longer to dry. A test patch on a scrap board or in a closet is standard practice before committing to the whole room.
- Topcoat. Two to three coats of finish go down, with a screen-and-tack pass between coats. Water-based finishes dry in a few hours and cure in a few days. Oil-based finishes take longer to dry and cure but can look warmer. The finish type also affects how much the floor yellows over time.
- Cure time. The floor is walkable before it is fully cured. Light foot traffic usually comes back within a day or two. Furniture should wait longer, and area rugs should stay up until the finish has fully hardened, or they can trap moisture and leave marks.
What Changes the Timeline
A few things push the schedule around:
- Square footage. A single room is a different job than a whole house.
- Number of coats. More coats mean more dry time between them.
- Finish type. Water-based moves faster. Oil-based takes longer.
What to Ask Before You Book
- What grit sequence will you use?
- How many coats of finish, and what type?
- How do you handle edges and corners?
The U.S. Environmental Protection Agency information on indoor air quality during renovation is worth a look if you are sensitive to fumes. Water-based finishes cure faster and smell less. Oil-based finishes cure slower but can look warmer.
Pre-Refinishing Inspection Checklist: What to Check Before You Commit
Run this checklist before you book any work. It prevents surprise costs and bad outcomes.
- Confirm solid or engineered construction
- Measure the wear layer or remaining wood thickness
- Test for moisture in the wood and subfloor
When to Refinish vs Replace: Making the Final Call
Refinish when the wood is thick enough, dry enough, and structurally sound.
For solid wood, refinishing is almost always the smarter money. You keep the original floor, and it can be refinished again later.
Refinishing also has an environmental upside. You're restoring existing wood instead of cutting and shipping new material.
If you're not sure which path fits your home, that's the moment to get eyes on it.
Frequently Asked Questions
How do I tell if my hardwood floors can be refinished?
Check the wood thickness above the tongue and groove. Solid hardwood needs at least 1/16 inch of usable wood above the tongue; a flooring contractor can measure this on site. Engineered wood needs a wear layer of at least 2mm. You can also do the water drop test: a drop that beads on the surface means the finish is still protecting the wood, while a drop that soaks in quickly means the finish has worn through and refinishing is likely needed.
What is the difference between a buff and coat versus full refinishing?
A buff and coat, also called screening, scuffs the existing finish and applies a new topcoat without sanding down to bare wood. It fixes dullness, light surface scratches, and worn sheen but cannot remove deep gouges, water stains, or discoloration. Full refinishing sands the floor to bare wood, removes all scratches and stains, and applies fresh stain and polyurethane. Choose buff and coat when the finish is intact but tired; choose full refinishing when the wood itself shows damage.
Can you refinish engineered hardwood floors?
Sometimes. Engineered wood can be refinished if its wear layer is thick enough, typically 2mm or more. Thinner wear layers (under 2mm) usually cannot survive sanding and are better served by a buff and coat or replacement. A contractor should measure the wear layer before quoting. If the wear layer is too thin, sanding can expose the core and ruin the floor, so an inspection is essential before any work begins.
How long does the hardwood floor refinishing process take?
A typical residential refinishing job takes three to five days from sanding to final coat, depending on square footage, number of coats, and whether repairs are needed. Water-based polyurethane dries faster than oil-based, sometimes allowing a quicker return to foot traffic. Most homeowners can move furniture back after 24 to 48 hours, but full cure takes about a week. Ask your contractor for a written schedule before work starts.
Worn, scratched, or stained hardwood doesn't have to mean new flooring. Hardwood Floor Refinishing & Restoration has restored North Shore homes since 2012 with professional sanding, custom staining, damaged board replacement, and durable oil-based and water-based finishes. We handle careful prep, dependable scheduling, and clean job sites from start to finish, and interior painting is available too. Get your free estimate and see what your floors can look like again.