 how-to
Hardwood Flooring Installation Services in Essex MA
Table of Contents
- How to Choose Hardwood Flooring Installation Services in Essex MA
- Solid vs. Engineered Hardwood Flooring: Which Fits Your Home?
- Hardwood Floor Installation Preparation: Getting Your Home Ready
- Hardwood Flooring Installation Timeline: What to Expect Week by Week
- Questions to Ask a Flooring Contractor Before You Sign
- Step-by-Step: What Happens During Professional Installation
- Local Project Pricing and Cost Factors in Essex County
- Conclusion: Planning Your Essex MA Hardwood Flooring Project
- Frequently Asked Questions
Last Updated: October 5, 2026
How to Choose Hardwood Flooring Installation Services in Essex MA
Finding hardwood flooring installation services in Essex MA comes down to three things: proof of local experience, a written scope of work, and a realistic schedule. This guide from Hardwood Floor Refinishing & Restoration walks through what to ask, what to expect week by week, and where projects quietly go wrong.
A common mistake is hiring on price alone. The cheapest bid often skips subfloor prep or moisture testing, and those shortcuts show up as cupping and gaps a year later.
Below, we break down contractor vetting, solid versus engineered choices, prep work, and how a professional installation actually runs.
What Local Contractors Should Offer
A contractor working in Essex County should arrive with more than a truck and a nailer. Ask for proof of insurance, a written estimate, and references from jobs in older housing stock.
Homes in Salem, Ipswich, and Marblehead often hide surprises under old carpet: patched subfloors, out-of-level joists, or layers of previous flooring. A contractor who has worked these homes knows to check before quoting.
Vetting checklist:
- Certificate of insurance for liability and workers' compensation
- Written scope listing prep, materials, and finish coats
- Two or three local references you can actually call
- A firm start date and completion window in writing
Solid vs. Engineered Hardwood Flooring: Which Fits Your Home?
Engineered hardwood is the better fit for basements, slab-on-grade rooms, and homes with wide humidity swings. Solid hardwood suits above-grade rooms with stable conditions and buyers who want the option to sand and refinish for decades.
Solid hardwood is a single piece of wood, typically 3/4 inch thick. It can be refinished many times over its life, which matters in older homes where floors have already been sanded once or twice.
Engineered hardwood is a plywood core topped with a real wood wear layer. It handles moisture and temperature shifts better than solid, and it can go where solid cannot, including over concrete.
| Factor | Solid Hardwood | Engineered Hardwood |
|---|---|---|
| Best for | Above-grade living areas | Basements, slabs, humid rooms |
| Refinishing | Multiple times | Depends on wear layer |
| Moisture tolerance | Low | Higher |
| Thickness | 3/4 inch typical | Varies by product |
For a North Shore home with a damp basement, engineered is usually the honest recommendation. For a dining room above a heated first floor, solid is worth the extra cost.
Hardwood Floor Installation Preparation: Getting Your Home Ready
Preparation is where good installations are won. Clear furniture, remove old flooring, and plan for dust control before the crew arrives. But in this region, preparation also means accounting for seasonal humidity, coastal air, and the quirks of older housing stock.
Local Climate and Home Considerations
Homes near the coast see wider humidity swings than inland properties. That matters because wood expands and contracts with moisture. A floor installed in a dry winter without acclimation can cup or gap when summer humidity arrives. Most practitioners find that wood needs to sit in the room for at least three to seven days, and longer in spring and fall when indoor and outdoor conditions differ most.
Older homes, especially those built before 1950, often have subfloors that are out of level, patched, or covered with layers of old flooring. A contractor who has worked these homes knows to check for:
- Squeaky or soft spots that signal joist or subfloor damage
- Previous water damage near radiators, sinks, or exterior doors
- Asbestos or lead paint in homes of certain vintages, which requires special handling
- Insufficient subfloor thickness for nail-down installation
If you have a forced-air system, change the filter after the job. Dust from sanding and demo travels through returns.
Acclimation and Moisture Checks
Acclimation means letting wood sit in the room where it will be installed so it adjusts to the home's humidity. Skipping it is a leading cause of gapping and buckling after installation.
A moisture check compares the subfloor's moisture content to the wood's. If the numbers are far apart, the installer should address the source before laying a single plank. In basements and slab areas, that may mean a vapor barrier or a moisture-mitigation product. In older homes with crawl spaces, it may mean improving ventilation or adding a ground cover.
Homeowner Preparation Checklist
Before the crew arrives, plan for:
- Furniture removal from the work area, most contractors do not move heavy items
- Parking access for the crew's vehicle and equipment trailer
- Pets and kids kept clear of the work zone for safety
- Dust control, plastic sheeting over doorways and vents helps, but some dust is unavoidable
- Noise expectations, sanding and nailers are loud; plan for daytime work
- Temporary kitchen and bathroom access if the work area blocks a main path
A common pattern is that homeowners underestimate how much dust and noise a full sand-and-finish job creates. If you are sensitive to either, ask about dust-containment systems and schedule the work when you can be away.
Hardwood Flooring Installation Timeline: What to Expect Week by Week
A typical residential installation runs one to three weeks from prep to final coat, depending on square footage and finish type. Here is how the schedule usually breaks down.
| Phase | Typical Duration | What Happens |
|---|---|---|
| Site prep and demo | 1-2 days | Remove old flooring, inspect subfloor |
| Acclimation | 3-7 days | Wood adjusts to room humidity |
| Installation | 2-5 days | Planks laid, nailed or glued |
| Sanding and finishing | 2-4 days | Sand, stain, apply finish coats |
| Cure time | 1-3 days | Floors ready for light foot traffic |
What Affects the Timeline
Square footage is the biggest factor, but not the only one. Room layout with lots of angles, closets, and stairs adds time. Subfloor repairs discovered after demo can add a day or more. Finish choice matters too: water-based finishes dry faster and allow quicker return to the room, while oil-based finishes take longer to cure and have a stronger odor.
When You Can Walk on the Floor
Most water-based finishes allow light foot traffic after 24 hours and furniture placement after 48 to 72 hours. Oil-based finishes typically need 48 hours before light traffic and up to a week before heavy furniture. Rugs should wait at least two weeks to let the finish fully cure.
Living Through the Project
Plan for noise, dust, and limited access to the work area. If the installation covers a main hallway or kitchen, you may need to adjust routines. Some homeowners schedule the work while on vacation, but that can make it harder to catch issues during the final walkthrough. A better approach is to be available for the start and the final inspection, even if you stay elsewhere during sanding and finishing.
Questions to Ask a Flooring Contractor Before You Sign
The right questions separate a professional from a hopeful amateur. Ask these before any deposit changes hands.
- Who is doing the actual installation, your crew or a subcontractor?
- What happens if you find subfloor damage after demo?
- How do you handle moisture issues in basements and slab areas?
- What finish are you using, and how long until we can walk on it?
- Can I see your insurance certificate and two local references?
That second question matters most. A contractor who won't put a change-order process in writing is telling you something about how the rest of the job will go.
Step-by-Step: What Happens During Professional Installation
Professional installation follows a set sequence: prep the subfloor, acclimate the wood, lay and fasten planks, then sand and finish. Each step depends on the one before it.
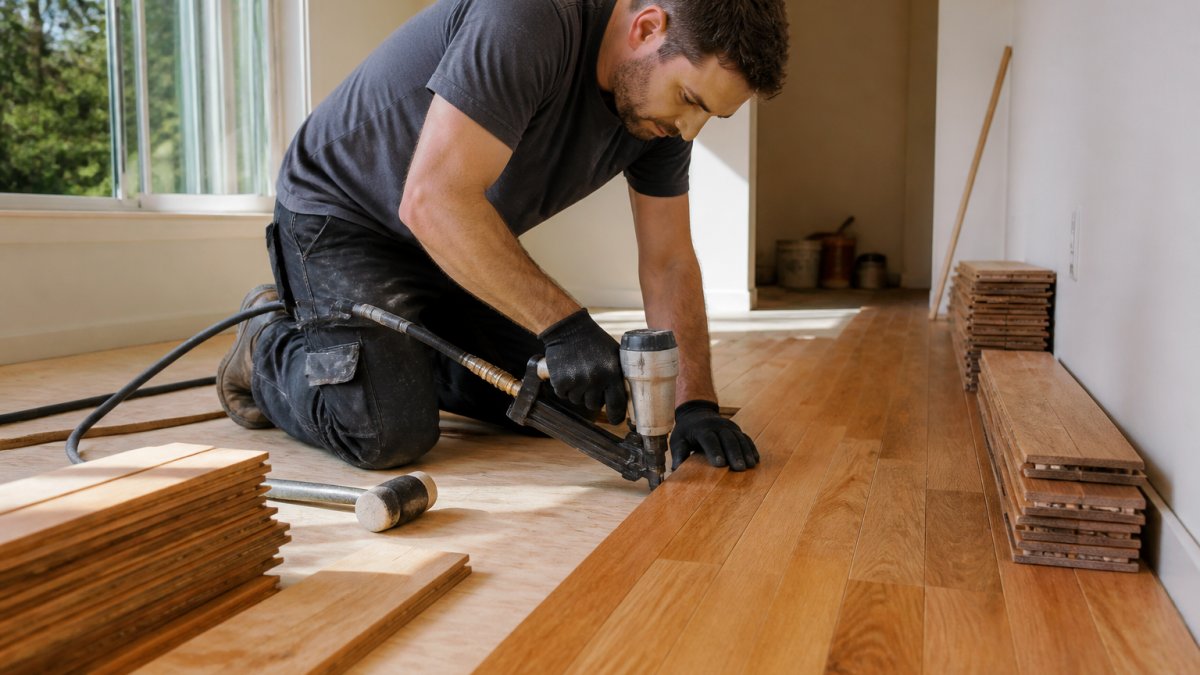
Step 1: Subfloor preparation. The crew inspects for damage, levels low spots, and secures squeaky boards. This is where a lot of hidden problems surface.
Step 2: Layout and starting line. The installer snaps a chalk line to keep rows straight and plans board stagger so seams don't line up.
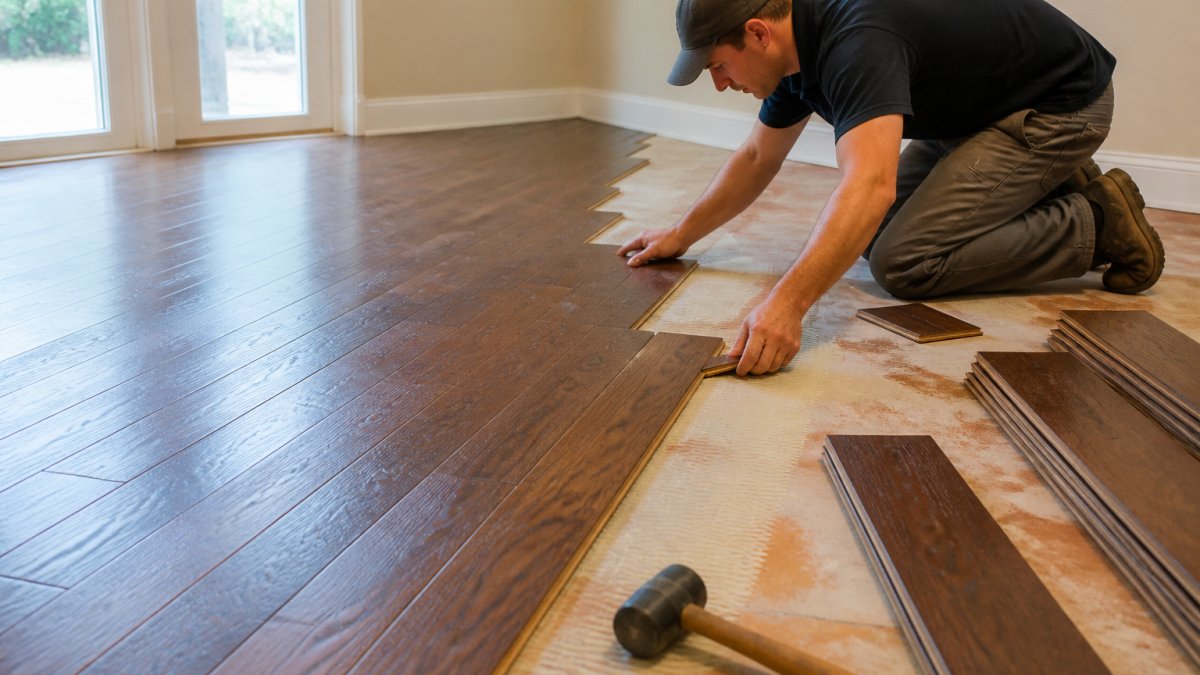
Step 3: Fastening. Solid wood is typically face-nailed or blind-nailed; engineered may be glued or floated. The method depends on the product and subfloor.
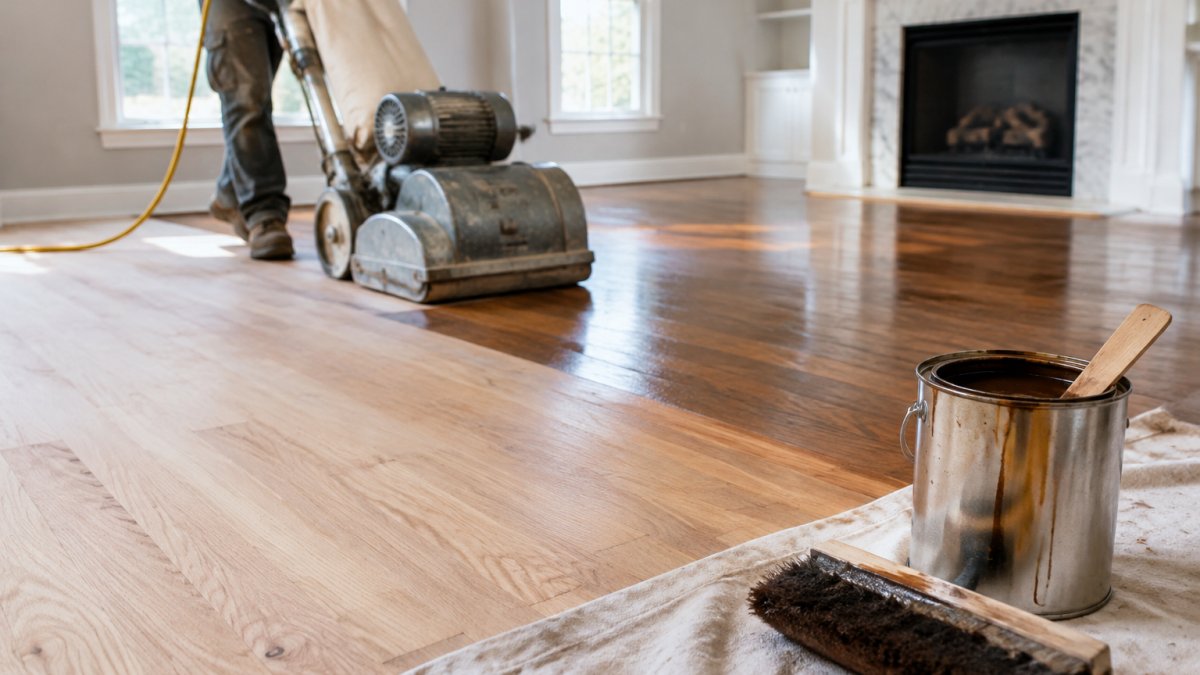
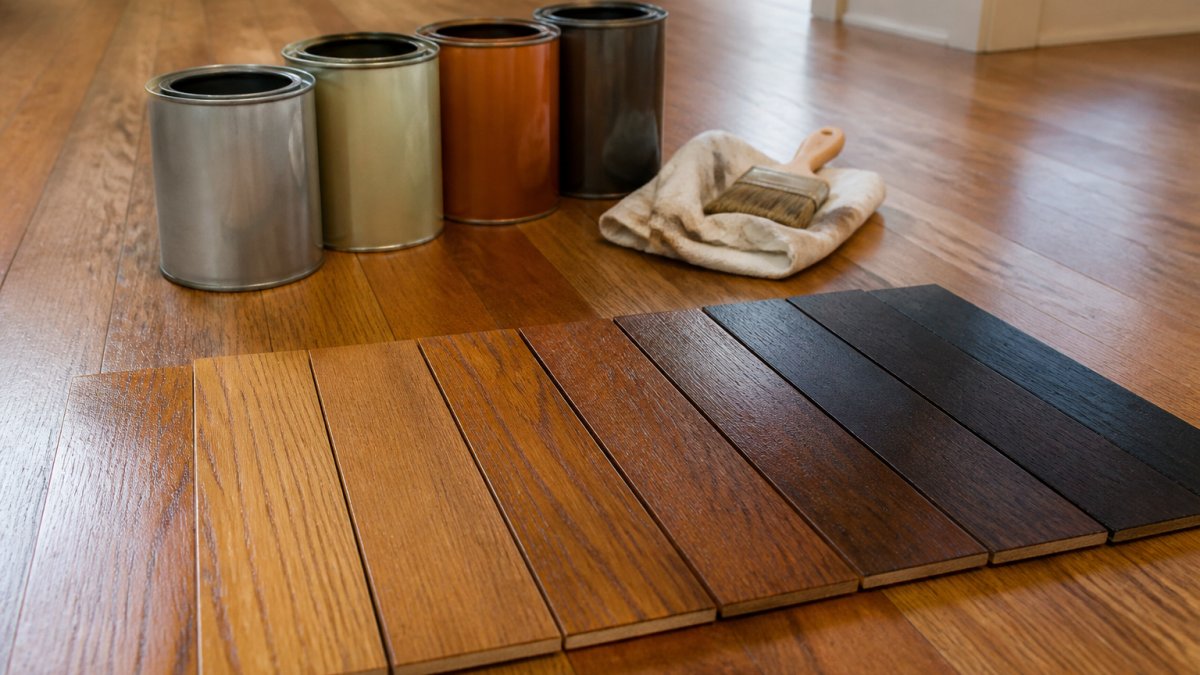
Step 4: Sanding and finishing. Edges are sanded, then stain and finish coats go down with drying time between each.
Step 5: Final inspection. The crew walks the floor with you, checks for gaps and finish flaws, and reviews care instructions.
Local Project Pricing and Cost Factors in Essex County
Pricing for hardwood flooring installation depends on square footage, wood species, subfloor condition, and finish choice. No honest contractor quotes a firm number before seeing the space.
The biggest cost drivers are:
- Square footage and room layout, including stairs and closets
- Wood species and grade, which vary widely in price
- Subfloor repairs discovered after demo
- Finish type, with oil-based and water-based carrying different costs
- Access and staging, which matters in older homes with tight stairwells
Get a free in-home estimate so the quote reflects your actual space, not a phone guess. Hardwood Floor Refinishing & Restoration provides written estimates with the scope spelled out, so you know what's included before work begins.
Conclusion: Planning Your Essex MA Hardwood Flooring Project
A hardwood floor project goes smoothly when you vet the contractor, understand the timeline, and prepare the space. The homeowners who end up happy are the ones who asked hard questions upfront.
Hardwood Floor Refinishing & Restoration has served Beverly and the North Shore since 2012, with free in-home estimates, careful preparation, and clean job sites. We handle sanding, refinishing, custom staining, repairs, and interior painting is available too.
Get started with Hardwood Floor Refinishing & Restoration and get a written estimate for your floors before you commit.
Frequently Asked Questions
How do I choose a hardwood flooring installer in Essex MA?
Start by verifying the contractor's experience with older homes common in Essex County. Ask for local references and proof of insurance. Request a written estimate that details the scope, materials, and timeline. A reputable installer will offer a free in-home assessment and explain the installation process clearly. Avoid choosing solely on price; focus on craftsmanship and communication.
How long does hardwood floor installation take?
Most residential installations take three to seven days, depending on square footage, floor preparation, and material acclimation. Acclimation alone can require three to five days. Add extra time for removal of old flooring or subfloor repairs. A detailed timeline from your contractor should include each phase, from tear-out to final walkthrough.
Can hardwood flooring be installed over an existing floor?
Sometimes, but it depends on the existing floor's condition and height. Solid hardwood typically requires a plywood subfloor, while engineered hardwood can sometimes go over concrete or existing hard surfaces if level and sound. A contractor should inspect for moisture and structural issues first. Improper installation over an uneven base can cause squeaks, gaps, or premature wear.
What should I ask a flooring contractor before hiring?
Ask about their experience with your specific flooring type, licensing, insurance, and warranty. Request a written contract with a detailed scope, payment schedule, and start date. Inquire about subfloor preparation, dust control, and cleanup. Ask for local references and check reviews. A trustworthy contractor will answer openly and provide documentation without pressure.