 how-to
Hiring Professional Floor Contractors: 7 Tips for 2026
Table of Contents
- Why Hiring Professional Floor Contractors Matters for Hardwood Flooring
- Questions to Ask a Flooring Contractor Before You Hire
- What to Look for in a Flooring Estimate and Written Contract
- Hardwood Floor Contractor References and Reviews: How to Verify
- Subfloor Inspection and Moisture Testing: What Happens Before Installation
- Hardwood Floor Refinishing Timeline: What to Expect Week by Week
- Red Flags, Scams, and Dispute Resolution
- Conclusion: Hiring Professional Floor Contractors With Confidence
- Frequently Asked Questions
Last Updated: October 13, 2026
Why Hiring Professional Floor Contractors Matters for Hardwood Flooring
Hardwood floors pay you back twice: in how the room looks and when you sell, but only when the work is done right.
At Hardwood Floor Refinishing & Restoration, we have refinished and restored hardwood across the North Shore since 2012. We have seen what happens when homeowners skip the vetting step. Sanding marks that show under every light.
The fix is not luck.
Questions to Ask a Flooring Contractor Before You Hire
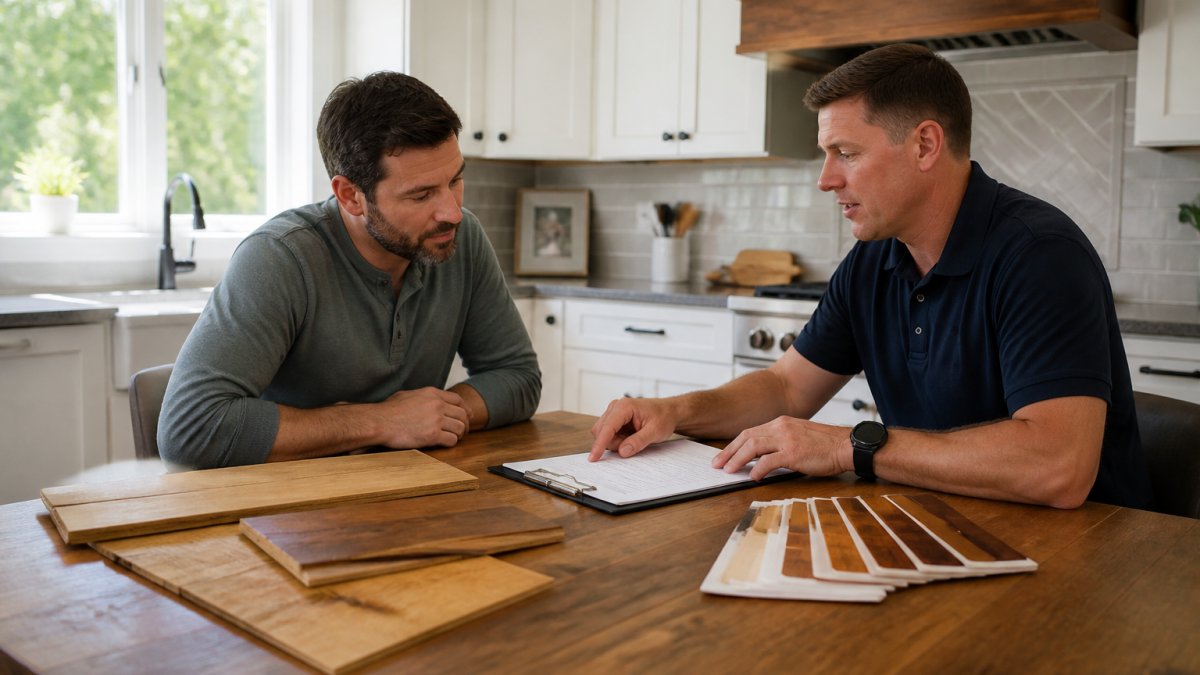
The right questions separate a true flooring contractor from someone with a truck and a sander. Ask these before any money changes hands:
- How long have you been installing and refinishing hardwood?
- Are you licensed and insured for this type of work?
- Can you provide references from the past year?
Write the answers down. Vague answers now become expensive surprises later.
Licensing, Insurance, and Bonding: What to Verify
Ask for the license number, then check it with your state or local licensing board, do not take a photo of a card at face value. Request a certificate of general liability insurance and workers' compensation coverage, and call the insurer to confirm the policy is active. If a worker gets hurt on your property and the contractor has no coverage, that problem can land on you.
Experience, Qualifications, and Installation Method
Experience is not just years on the job. It is experience with your kind of floor.
Old-growth oak in a historic home behaves differently than new engineered planks. Ask how the contractor plans to handle your specific flooring.
Installation method matters too. Nail-down, glue-down, and floating floors each need different prep. A contractor who cannot explain why they chose one method over another is guessing.
What to Look for in a Flooring Estimate and Written Contract
A written estimate should spell out every line: materials, labor, prep work, and cleanup. If it shows only one lump sum, ask for a breakdown before you sign.
Your written contract should include:
- Full scope of work, room by room
- Materials and products by name and type
- Start date and target completion date
Get everything in writing. A handshake deal leaves you with no proof if the work goes wrong.
How to Compare Bids Line by Line
Most homeowners compare the bottom number. That is the wrong move.
Build a spreadsheet with one column per contractor and one row per cost category. Then fill in what each bid actually includes.
| Line Item | What to Check | Why It Matters |
|---|---|---|
| Site protection | Plastic sheeting, doorway barriers, HVAC vent covers | Dust travels through the whole house; missing protection means cleanup on your dime |
| Furniture and appliance moving | Who moves it, who moves it back, is it in the bid | Often quoted as an add-on after the fact |
| Tear-out and disposal | Old flooring removal, dumpster or haul-away fee | Can be a significant hidden cost if omitted |
| Subfloor prep | Leveling compound, patching, moisture testing, acclimation time | The single most common skipped line in low bids |
| Materials | Species, grade, finish type, square footage with waste factor | Cheaper grade or thinner wear layer changes the whole job |
| Labor | Number of workers, number of days, sanding method | Fewer workers usually means a longer timeline, not a better deal |
| Finish coats | How many coats, which product, dry time between coats | Three coats versus two is a durability difference you will feel in a few years |
| Trim and transitions | Baseboard removal and reinstall, thresholds, stair nosings | Frequently excluded and billed later |
| Cleanup | Daily dust control and final walkthrough cleaning | Tells you how the crew treats your home |
| Warranty | Workmanship coverage length, product warranty, what voids it | A warranty you cannot find in writing is not a warranty |
| Payment schedule | Deposit amount, progress payments, final payment trigger | Ties to your leverage if something goes wrong |
Once the grid is filled, compare the totals of the same scope. If one bid is far below the others, find the row where it is missing something.
Change Orders: The Clause That Prevents Most Disputes
No matter how good the estimate is, something unexpected usually turns up once the old floor is up, a soft spot in the subfloor, a hidden previous repair, a board that will not take stain evenly.
A workable change order process looks like this:
- The contractor stops work on the affected area and documents the issue with photos.
- You receive a written change order describing the extra work, the added cost, and the added time.
- You approve it in writing before the work resumes.
Verbal approvals are where disputes start. If a contractor asks you to "just trust me on this one," the paperwork is not being taken seriously.
Payment Milestones and Your Leverage
Payment structure is your main source of leverage during the project. A common pattern is a deposit to hold the schedule, a progress payment when sanding and prep are complete, and a final payment after your walkthrough, never before you have inspected the finished floor in daylight and confirmed the punch list is done. Be cautious with any request to pay the full balance before the work is finished, and equally cautious with a contract that has no payment schedule at all.
Hardwood Floor Contractor References and Reviews: How to Verify
Anyone can hand you a list of happy customers, verification is what separates a real reference from a favor. Call at least two past customers and ask how the crew communicated, whether they showed up on time, whether the final result matched the estimate, and how the contractor handled anything that went wrong.
For a free in-home estimate, you can request one from our team and see our process firsthand.
Subfloor Inspection and Moisture Testing: What Happens Before Installation
The subfloor is where most flooring failures start. If it is uneven, wet, or weak, even perfect installation will fail, and because homeowners see this part of the job least, it is the easiest place for a low bid to cut corners.
What a Real Subfloor Inspection Covers
Before any sanding or new boards go down, a careful contractor will:
- Check the subfloor for level and flatness using a long straightedge or a laser level, not just a visual look
- Test moisture content in the wood flooring and in the subfloor itself
- Look for water stains, rot, previous patching, or evidence of past leaks
Flatness is the check most often skipped. Manufacturers publish a flatness tolerance in their installation instructions, usually a maximum deviation over a set distance. If your subfloor is outside that tolerance, the fix is leveling compound, sanding high spots, or replacing damaged sections, all of which should appear in the bid before work starts, not as a surprise change order on day two.
Moisture Testing: The Step That Prevents Cupping and Gaps
Wood moves with moisture, that is physics, not a defect. Moisture testing makes sure the flooring and subfloor are close enough in moisture content that the wood does not swell or shrink dramatically after installation.
A thorough contractor tests three things:
- The subfloor, using a moisture meter appropriate to the material. Concrete slabs and wood subfloors are tested differently, and a pin meter that works on wood will not give you a meaningful reading on concrete.
- The flooring itself, sampled from several boards in several boxes, not just the top board in the stack.
- The room conditions, meaning temperature and relative humidity, because those drive how the wood will behave once it is down.
A common mistake is skipping moisture testing because the floor "looks fine." Moisture problems show up months later as cupping, gaps, or warping. By then, the fix is far more expensive than the test would have been.
Acclimation: Why the Wood Sits in Your House Before It Goes Down
Acclimation is the period when the flooring sits in the room where it will be installed so it can adjust to the home's temperature and humidity. Skip it, and boards can expand or contract after installation, opening gaps at the seams or causing edges to lift. How long it takes depends on the product, the packaging, and your home's conditions: solid hardwood typically needs more time than engineered flooring, and some engineered products need very little.
What to Ask Before Work Begins
Use these questions to confirm the prep stage is being taken seriously:
- What tools will you use to check flatness, and what tolerance are you working to?
- How will you test moisture in the subfloor and in the flooring, and what readings would make you pause the job?
- How long will the flooring acclimate, and where will it sit during that time?
A contractor who answers without hesitation has done the prep work enough times to know why it matters. One who waves the questions off is telling you something about how the rest of the job will go.
Hardwood Floor Refinishing Timeline: What to Expect Week by Week
A typical refinishing project runs one to two weeks for most homes, depending on square footage, repair needs, and finish drying time. Here is a realistic week-by-week view:
- Days 1-2: Prep, furniture moving, and subfloor inspection
- Days 3-5: Sanding, board repair, and edge work
- Days 6-7: Staining and first finish coat
Weather affects drying. Humid days slow things down. Ask your contractor how they adjust for that.
Red Flags, Scams, and Dispute Resolution
The biggest red flag is pressure to pay in full upfront. A large cash deposit with no written contract is how most flooring scams start.
Watch for these warning signs:
- No physical address or verifiable license
- Cash-only payment with no receipt
- A price far below every other bid
If a dispute comes up mid-project, put your concern in writing and reference the contract. Most issues trace back to unclear scope.
The Federal Trade Commission's consumer advice on home improvement scams explains how to spot and report fraudulent contractors.
Conclusion: Hiring Professional Floor Contractors With Confidence
The difference between a floor that lasts and one that fails comes down to who you hire and how carefully you vet them.
At Hardwood Floor Refinishing & Restoration, we have restored hardwood floors across the North Shore since 2012.
Get started with Hardwood Floor Refinishing & Restoration and get a free estimate for hardwood floor refinishing you can trust.
Frequently Asked Questions
What questions should I ask a hardwood flooring contractor before hiring them?
Ask about their license and insurance, how many years they have worked with hardwood, whether they handle subfloor inspection and moisture testing, what installation method they recommend for your floor type, how they handle change orders, and what their workmanship warranty covers. Request a written estimate that lists materials, preparation steps, and a completion date. A contractor who answers clearly and provides documentation is a safer hire than one who gives vague verbal promises.
How do I check a flooring contractor's references and past work?
Ask for three to five recent local references, then call them. Ask past customers whether the contractor showed up on schedule, communicated clearly, cleaned up, and honored the warranty. If possible, visit a completed project to inspect workmanship firsthand. Also check online reviews and your state's licensing board for complaints. A contractor with a solid local reputation and verifiable past customers is far less risky than one who cannot provide references.
What should a hardwood flooring estimate include?
A complete estimate should list the scope of work, materials and flooring products by type, preparation steps such as subfloor inspection and moisture testing, the installation method, a project timeline with a completion date, payment terms, and warranty details. It should also state how change orders are handled. Compare bids line by line rather than by total price alone, because a low bid may exclude preparation or use lower-grade materials that affect long-term quality.
How long does a hardwood floor refinishing project take?
Most refinishing projects take several days to about a week, depending on square footage, drying time between coats, and the finish used. Sanding and staining add time, and repairs or subfloor work can extend it further. Ask your contractor for a written schedule with a completion date, and confirm how many coats will be applied before you sign a contract.